Google Tag Manager (GTM) installation
In this guide, we will walk you through the process of setting up DSCM via Google Tag Manager to enhance the security of your website.
Step 1: Obtain Your DSCM Personal Link
Go to the official DSCM website at https://didsomeoneclone.me, input your website’s domain and your email address, and then patiently wait for a few seconds.
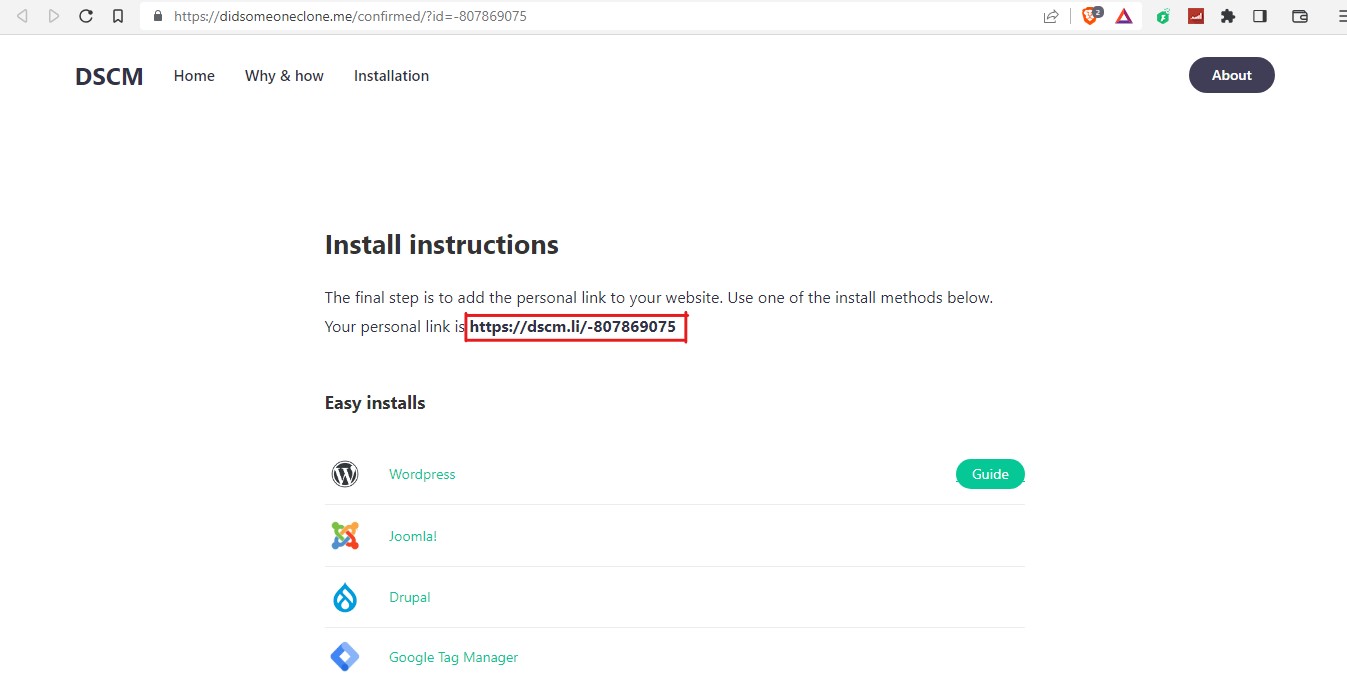
You will receive an email containing your personal link. Click the “Confirm email address” button in the email. On the destination page, your personal link is displayed:
Step 2: Install DSCM via Google Tag Manager
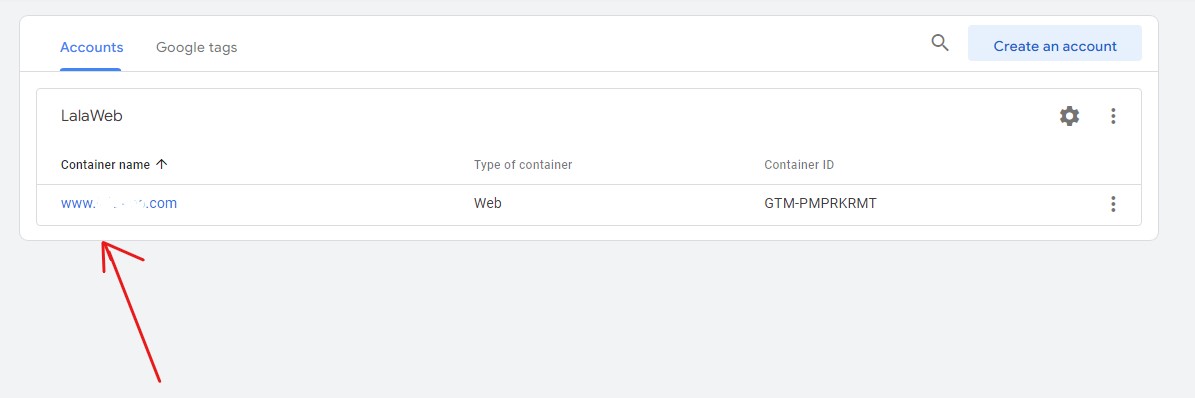
Now that you’ve acquired your unique DSCM link and are ready to enhance your website’s security, open your web browser and go to Google Tag Manager. Once logged in, access your Google Tag Manager dashboard. Select the appropriate container for your website.
On the left sidebar, find the “Models” section (this may be different in your language) and click on “Search in the gallery”

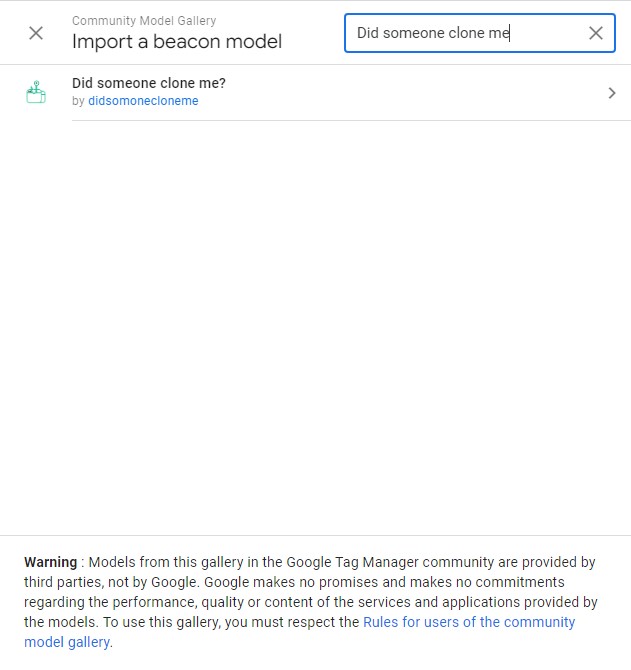
In the gallery section, search for “Did someone clone me”.
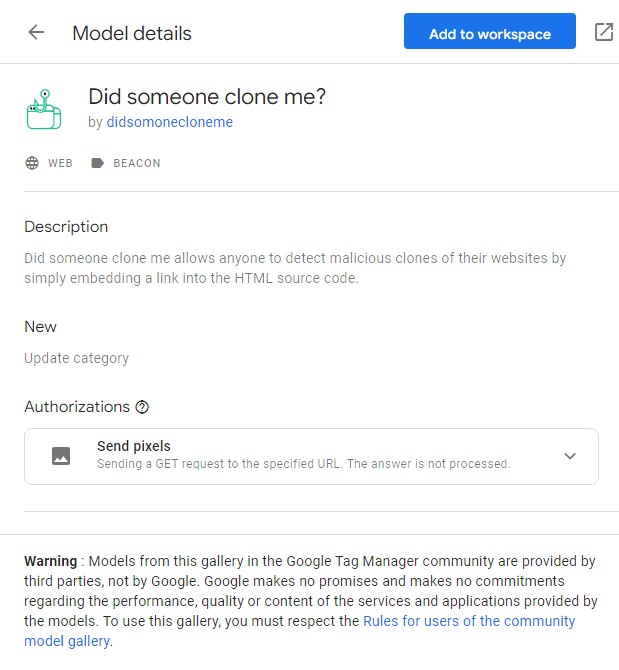
Once you located, open it and add it to your workspace using the “Add to workspace” button:
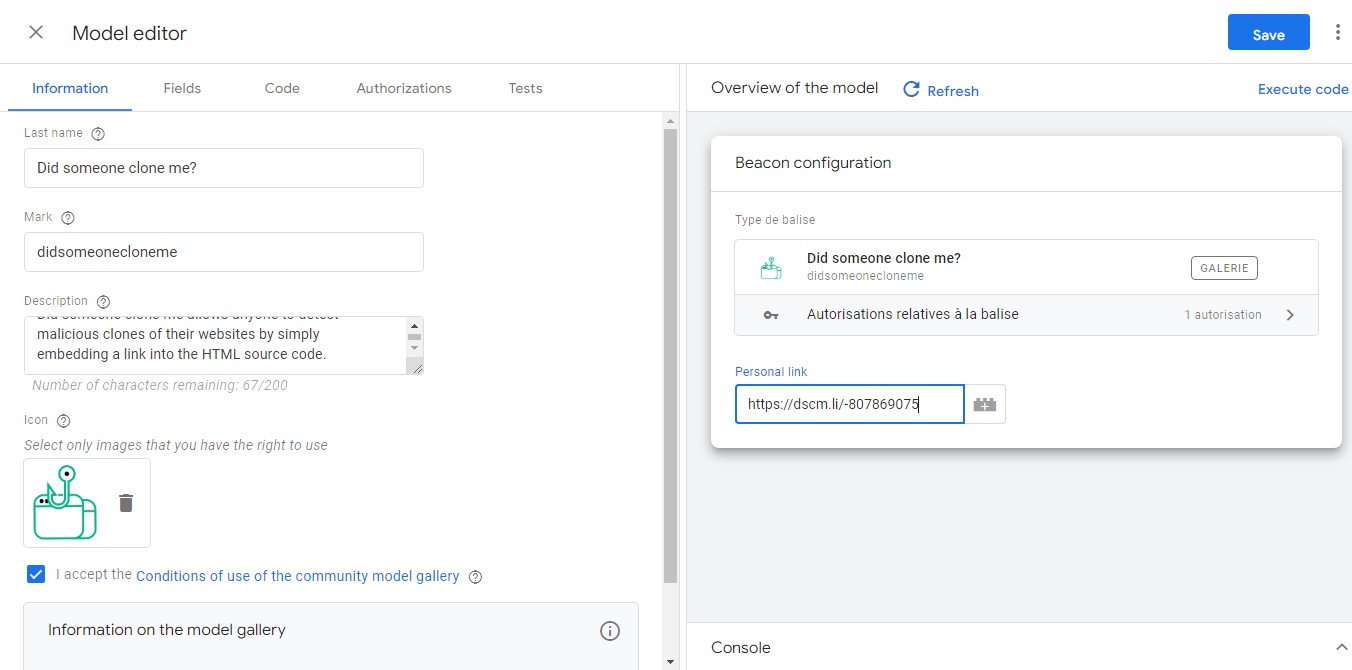
After adding the plugin to your workspace, you’ll find it among the beacon models (this may be different in your language). Click on it to be redirected to the DSCM plugin’s dedicated page.
![]()
On this page, locate an empty input field labeled “Personal link”. Input your personal link, then click the “Execute code” button followed by the “Save” button to save the configuration.
Your DSCM setup through Google Tag Manager is complete. You’ll now receive email alerts for detected cloning attempts, enhancing your site’s security and content integrity.